If you’ve ever wondered what you can do to plant succulents in order so that they can live healthy and happy This is the article for you! This step-bystep guide to the planting of newly purchased succulents will give you the right base for your succulent garden!
I’m happy to hear you’re eager to learn how to properly plant succulents!
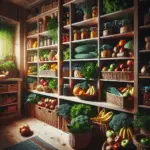
Before I go into the step-by step plant guide, ensure you have everything you require. Take a look at this list in my blog post on the essential items needed to plant succulents.
This includes selecting the right planter or pot that is suitable to your plants. Check out my recommendations for choosing the best ceramics for succulents in this article.
After you’ve read the articles and collected the materials that you require, you’re set to plant!
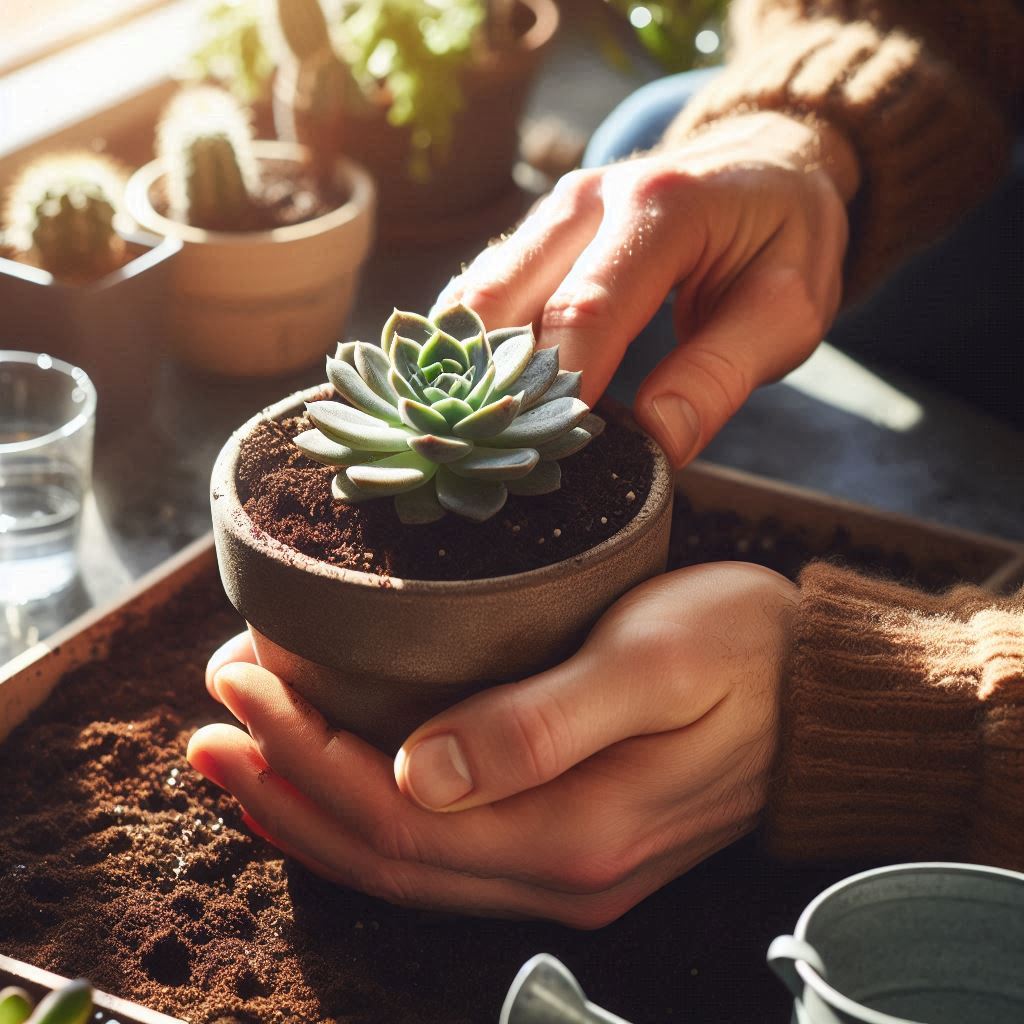
Here, there are step-bystep images that show the entire process, from beginning to finish how I pot the newly bought succulent.
How frequently should succulents be repotted?
There are many times when you’ll need to plant your succulents. The first one is after the purchase. Most nurseries will plant succulents in very organic soil that isn’t draining well.
It works well in a nursery, where the temperature can be controlled. However, it it generally does not work when you take plants home. It is recommended to plant succulents into new soil once they’ve been purchased.
Another reason to plant your succulents again is if they’ve grown too large or have outgrown the pot in which they’re. In most cases, it’s because they’re “root bound” meaning the roots are occupying the pot, and the plant doesn’t have enough room to expand its roots.
It’s typical for succulents grown in an establishment being root bound because they can slow down the rate of growth of succulents and the nursery doesn’t need to pot their succulents as frequently.
As a rule of thumb I suggest leaving approximately 12″ to 1″ (1-2.5cm) between the edges that the container is and the succulent’s leaves. If your succulent measures around three” (7.5cm) in diameter, then you’ll want to place it a pot that’s about 4″ (10cm) in the diameter.
Take Out Your Pot and Soil
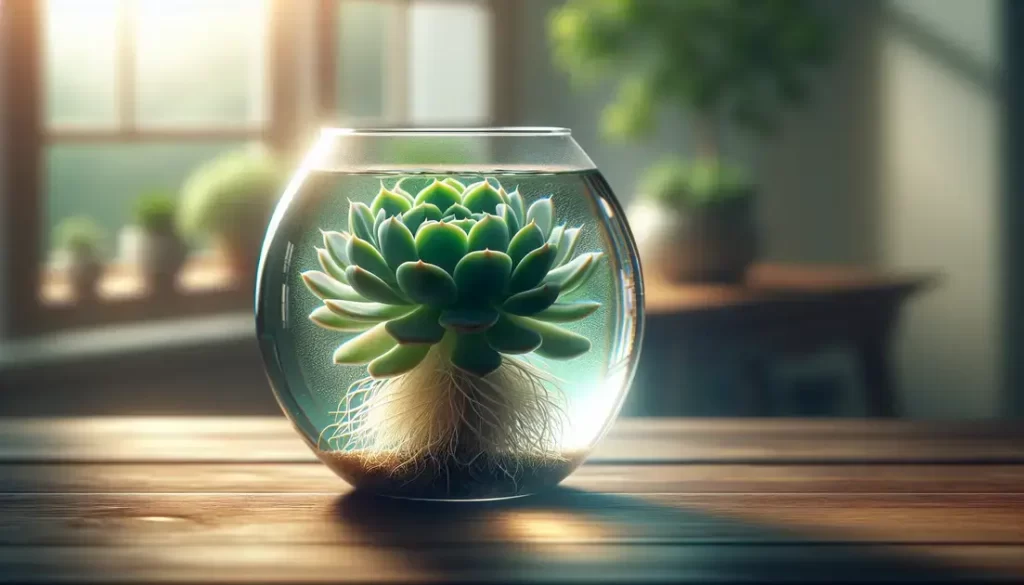
The first step to the successful succulent plant is to eliminate the pot in the nursery and eliminate all the soil you can. Nurseries generally place the succulents they sell in soil that is far too compact and retains a lot of moisture. The more of the nursery soil you are getting rid of the better the roots of your succulent will be.
It’s possible that you won’t be able to remove the entire soil out without damaging your roots, which is acceptable. Simply eliminate the most you can, while remaining kind to your succulent.
When you plant your succulent all by it’s own (as I do) it is best to preserve the roots in the best way. However in the event that you’re creating an arrangement that includes many succulents, you may prefer to cut off some parts of their roots.
The removal of a few roots shouldn’t cause major issues for your succulent. It will do just well in all ways. If you’re lucky enough to have little ones that are affixed to the main plant, this is the perfect time to get them removed in the event that you’d like to.
Add Mesh Over the Drainage Hole
A drainage hole is crucial to the good health of your succulents however, you do not want your soil to be ripped through it. Utilize net tape to stop the largest pieces of soil from falling out.
Mesh tape is a great choice since it allows water to flow easily however it will remain throughout the soil. It’s likely that you’ll see some “dust” falling out, however, that’s not unusual.
If you’d like to use an mesh screening in place of a mesh tape.
Fill Your Pot Nearly to the Top
Before placing your succulent into the pot you’ve picked make sure you fill it nearly (but not completely) up to its top plant material. Make sure to leave a little space on top so that the roots can be able to fit comfortably, and you’ll be able make more soil later.
Place Your Succulent
Now is the time to put your succulent in the pot! You can plant it centered or off-center, depending on what you’d prefer.
Nestle some rootstocks in the soil, and they’ll be able to use them as a a beginning point for development.
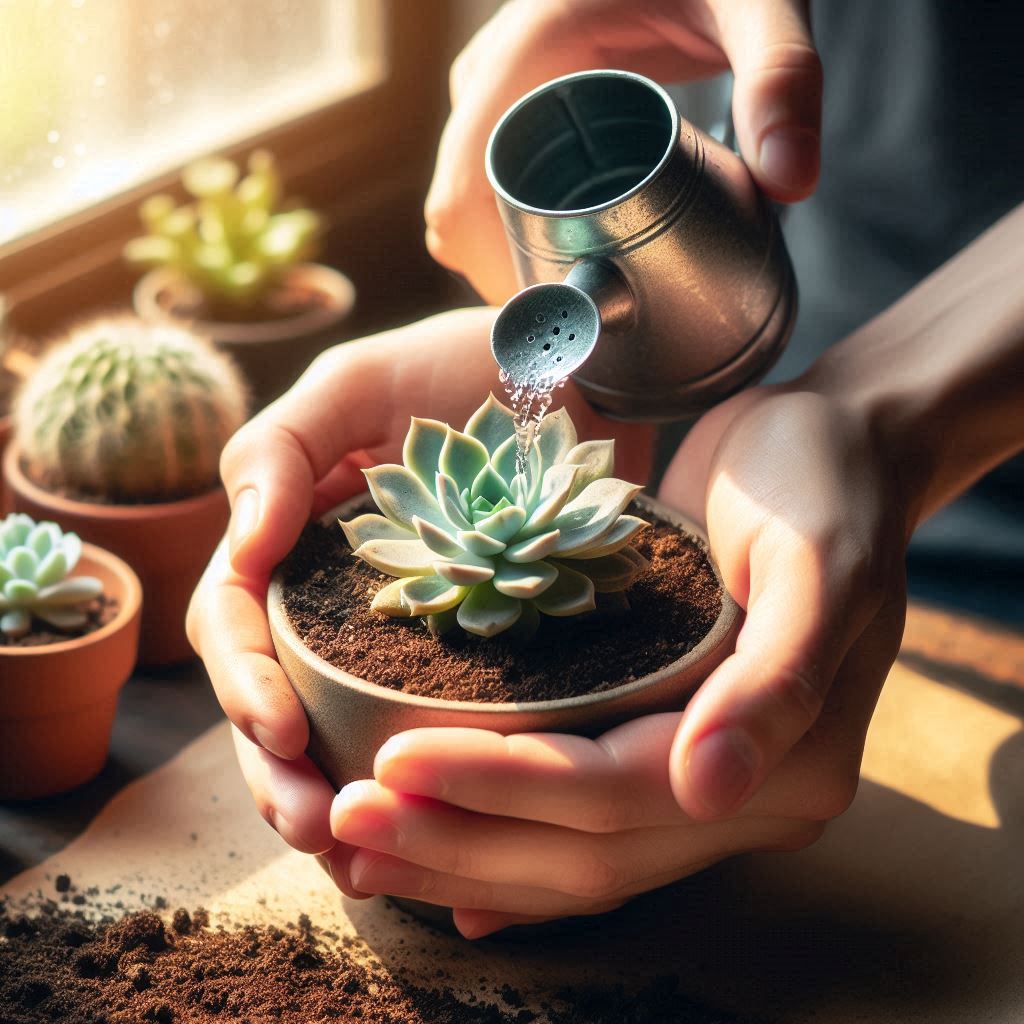
Fill the Pot Completely to the Top
It’s now time to add water to the pot. It is important to leave little space between the soil’s top and the top of the pot. It is important that your succulent’s leaves are over the soil completely, to avoid rotting.
If you’ve bought the soil at Bonsai Jack, you’ll have a fantastic chopstick that’s perfect for poking your soil over and over again, helping to remove large air pockets that may be forming in between your roots.
This will stop the soil from sinking after just a few waterings.
Add a Top Dressing
To complete your succulents in the pot, you can put on the topping dressing. This is why you have left an inch or two to high-up in your planter.
The top dressing could be bright and exciting or simply a gravel as I did here. After you’ve added to your dressing make sure to press downwards on your soil in order to ensure that the succulent will keep it in position.
Most important!! !
After your succulent has been planted with it’s the top layer of dressing is on and the top dressing is in place, allow it to sit for a minimum of two days before watering it. This time of rest will allow the roots the chance to heal before they begin taking in water, which can help stop root rot.
The most common errors I have observed in potting are the following: a) not taking dirt from roots or in addition to) failing to apply an over dressing and c) excessively watering.
Follow these steps, and you’ll avoid these typical issues, and you’ll begin to build your lush and healthy garden!