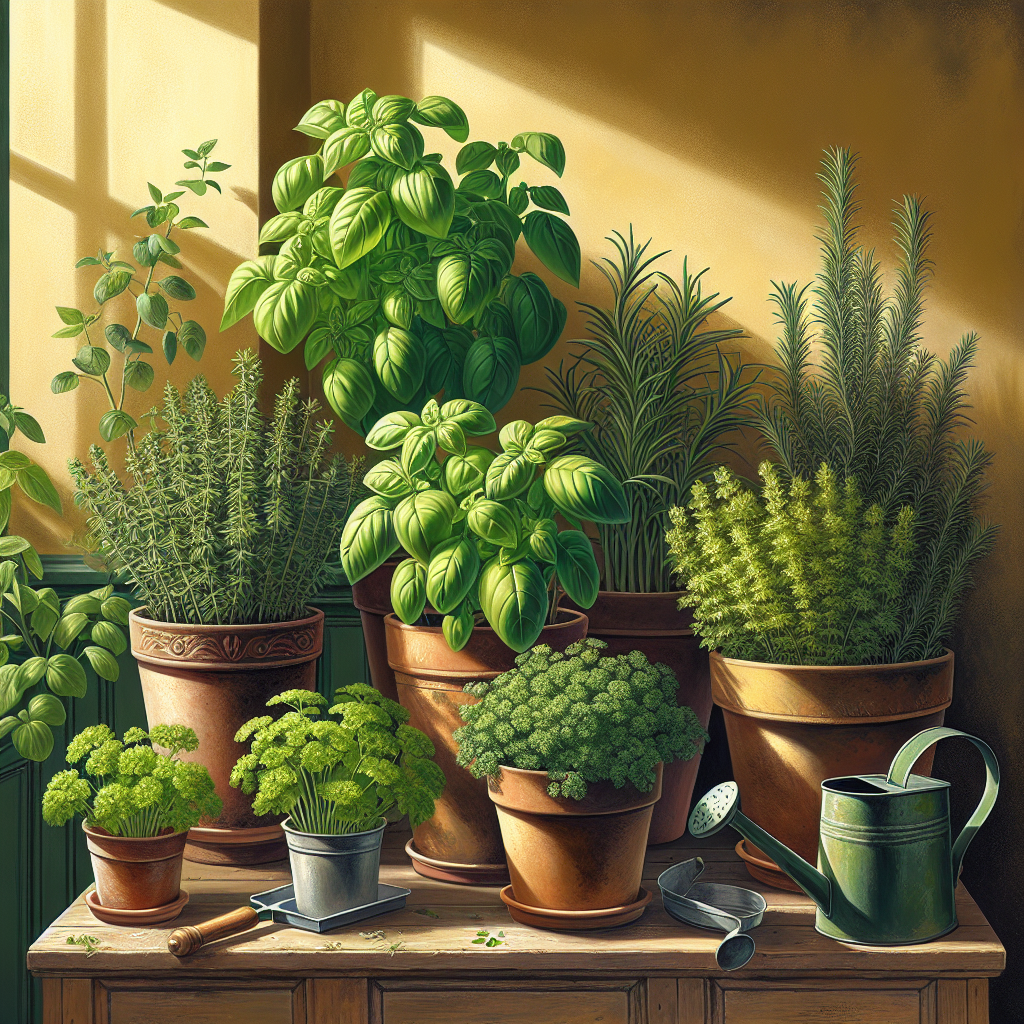
If you care about maintaining a vibrant and healthy garden, knowing how to sharpen garden tools at home is essential. Sharp tools make your work easier and more efficient. In this guide, we’ll discuss why sharpening garden tools is crucial and provide you with a simple step-by-step process to keep your tools in perfect condition. From pruners to hedge clippers, we’ve got you covered with practical tips and safety advice.
Introduction: Why Sharpening Garden Tools is Important
Sharpening garden tools is vital for maintaining their efficiency and longevity. Dull tools can make gardening laborious and can even cause damage to your plants. Regular sharpening ensures that pruners, shears, shovels, and hoes perform optimally, making cuts cleaner and more precise.
When tools are kept sharp, they require less effort to use, reducing the strain on your hands and back. Sharp tools also help to ensure a cleaner cut, which is less likely to introduce disease into your plants. Restoring edges on shovels and hoes can make digging and cutting through soil much easier, improving your gardening efficiency.
Beyond immediate benefits, sharpening your tools regularly can prolong their lifespan by preventing rust and corrosion. Well-maintained garden tools are less likely to wear out or break, saving you money in the long run. Incorporating tool sharpening into your regular garden maintenance routine is a proactive step towards a thriving and healthy garden.
Tools Needed: Essential Equipment for Sharpening
To effectively sharpen garden tools at home, having the right equipment is essential. Each piece of equipment plays a crucial role in restoring your tools to their optimal performance.
Sharpening Stone
A sharpening stone, also known as a whetstone, is indispensable for giving your tools a sharp edge. Select a stone with both coarse and fine grits to handle dull and slightly worn edges.
File
A metal file is essential for sharpening larger garden tools like shovels and hoes. Choose a medium or coarse file to effectively shape and sharpen the metal.
Clamp or Vise
Keeping your tools steady while you sharpen is crucial for safety and precision. A clamp or vise will hold your tools in place, making the process easier and more effective.
Protective Gear
Safety is paramount. Equip yourself with gloves and safety goggles to protect your hands and eyes from metal shards and debris.
Cleaning Supplies
Before sharpening, clean your tools with a brush and soapy water to remove dirt and rust. This ensures a smoother sharpening process and better results.
Oil To maintain a sharp edge and prevent rust, apply a light coat of oil to your tools after sharpening. Use a specific tool oil or even household oil for this purpose.
By assembling these essential tools, you set yourself up for successful sharpening sessions that leave your garden tools in top-notch condition.
Safety Precautions: Protecting Yourself During the Process
When sharpening garden tools at home, safety should always be a priority. Ensure your work area is well-lit and organized to avoid unnecessary injuries. Wear protective gloves to shield your hands from sharp edges and splinters. Additionally, eye protection is crucial to guard against flying debris and metal shavings.
Secure your tools properly before sharpening. Use a vice or clamps to hold the tool steady, preventing slips that could cause injuries. Avoid wearing loose clothing or accessories that could get caught in the sharpening equipment.
Work at a steady pace and avoid rushing. Taking your time reduces the risk of accidents. If you’re using power tools, follow the manufacturer’s safety instructions meticulously. Keep a first aid kit nearby in case of minor injuries.
Finally, ensure that your tools and sharpening equipment are in good condition. Dull equipment can slip and cause injuries, so inspect everything carefully before you begin. By following these safety precautions, you can sharpen your garden tools effectively while protecting yourself from harm.
Cleaning Your Tools: Preparing Them for Sharpening
To ensure your gardening tools are in top-notch condition for sharpening, start by thoroughly cleaning them. Use a stiff brush to remove dirt and debris from the blades and handles. Soak the tools in warm, soapy water for a few minutes to loosen any stubborn grime. After soaking, scrub with a wire brush or steel wool to eliminate rust and sap.
Once the visible dirt is removed, rinse the tools under clean water and dry them with a clean cloth. This step is crucial to prevent any moisture from causing rust during the sharpening process. For persistent rust spots, use a rust eraser or apply a mixture of baking soda and water to create a paste. Scrub the paste on the rusted areas and rinse thoroughly.
Ensure all joints and movable parts are clean and move freely. If needed,
lubricate the joints with a few drops of oil
to ensure smooth operation. By meticulously cleaning your tools, you create a perfect canvas for the sharpening process, ensuring the blades will be more effective and stay sharp longer.
Sharpening Pruners and Shears: Step-by-Step Instructions
1. Disassemble the Tools: Begin by carefully taking apart your pruners or shears. This will allow for better access to the blades. Keep all screws and components in a safe place to avoid misplacing them.
2. Clean the Blades: Remove any dirt, sap, or rust from the blades using a stiff brush, soap, and water. Dry them thoroughly to avoid rusting during the sharpening process.
3. Secure the Blade: Use a vice or clamp to securely hold the blade in place. This will prevent movement and reduce the risk of accidents while sharpening.
4. Sharpening with a File: Choose a medium or fine-grit file. Place the file on the beveled edge of the blade, maintaining the original angle. With smooth, even strokes, move the file away from the body, following the contour of the blade. Repeat this process until a sharp edge is achieved.
5. Hone with a Sharpening Stone: For a razor-sharp finish, use a sharpening stone. Lubricate the stone with water or honing oil. Move the blade in a circular or figure-eight motion against the stone, maintaining the correct angle. Ensure both sides of the blade are evenly sharpened.
6. Reassemble the Tools: Once sharpened, carefully reassemble your pruners or shears. Make sure all components are securely fastened and the blades are aligned properly.
7. Test the Sharpness: Test the sharpness by cutting through a piece of paper or trimming a plant stem. A properly sharpened blade should make clean, effortless cuts.
Sharpening Shovels and Hoes: How to Restore Edges
To restore the edges of your shovels and hoes, start by securely clamping the tool in a vise to prevent slipping during the sharpening process. Use a metal file, as it provides greater control and precision. Hold the file at about a 45-degree angle to the edge of the blade and work in one direction, consistent strokes going away from the body.
Continue filing until a clean, sharp edge is achieved. For hoes, focus on the beveled side, maintaining the same angle throughout the process. Switch to the other side if necessary to remove any burrs.
After filing, you can use a sharpening stone to further refine the edge. Wet the stone with water or oil and rub along the edge in a circular motion, ensuring a smooth and sharp finish.
Finally, wipe down the tool to remove any metal filings and apply a thin coat of oil to prevent rust and maintain the sharp edge.
Using a Sharpening Stone: Techniques for Various Tools
When it comes to maintaining sharp edges on your garden tools, a sharpening stone is an invaluable asset. Its versatility allows you to refine the blades of various tools with precision.
Selecting the Right Stone
There are different types of sharpening stones, including oil stones, water stones, and diamond stones. Choosing the correct stone for your tool can significantly affect the sharpening outcome. For general garden tools, a medium-grit stone is usually sufficient.
Sharpening Pruners and Shears
Hold the pruner blade at an angle of about 20 degrees against the stone. Move the blade in a circular or back-and-forth motion, maintaining the angle consistently. Continue this until you notice a sharp edge forming. Repeat for the other blade if dealing with shears.
Sharpening Shovels and Hoes
Place the sharpening stone against the beveled edge of the shovel or hoe. Push the stone away from your body along the edge, maintaining a consistent angle. Flip the tool and repeat the process if needed to ensure an even sharpness on both sides.
Lubrication
Whether you are using oil or water stones, proper lubrication is crucial. Apply a thin layer of oil or soak the stone in water as required. This helps to remove metal filings and reduce friction, providing a smoother sharpening experience.
By mastering these sharpening techniques, you’ll not only prolong the life of your garden tools but also ensure they perform their tasks efficiently.
Using a File: Proper Method for Sharpening with a File
When it comes to sharpening your garden tools with a file, having the right technique is crucial for achieving the best results. One of the first steps is to choose the appropriate file. For most garden tools, a flat file is ideal. Ensure the file is clean and free from rust or debris. Secure your tool in a vice or clamp to prevent movement during sharpening. This will allow you to use both hands, providing more control and precision.
Begin by applying firm, even strokes with the file, always moving in one direction away from you. Match the angle of the bevel on the tool’s edge, which is typically around 20 to 30 degrees. Keeping a consistent angle is key to achieving a sharp edge.
After a few strokes, inspect the edge. You should see a burr forming on the opposite side of the blade. Flip the tool over and file the opposite side to remove the burr and smooth the edge. This process may need to be repeated several times for heavily dulled tools.
It’s important to check your progress frequently. A properly sharpened edge should be smooth and even. If you notice any nicks or uneven areas, continue filing until the entire edge is uniform.
Lastly, clean the file periodically to maintain its effectiveness. A wire brush or file card works well for this purpose. By following these steps, you can ensure that your garden tools are sharpened efficiently and effectively using a file.
Final Touches: Polishing and Oiling Your Tools
After sharpening your garden tools, it’s crucial to give them some final touches to ensure longevity and efficiency. Start by polishing the tool blades with a fine-grit sandpaper or a wire brush. This will remove any residual burrs and give the blades a smooth finish, enhancing their cutting performance.
Next, apply a thin coat of oil to the blades and moving parts to prevent rust and corrosion. Use a rag or a soft brush to spread the oil evenly. Linseed oil or any multi-purpose household oil works well for this purpose. Make sure to coat all exposed metal surfaces, paying special attention to joint areas of tools like pruners and shears.
Don’t forget the handles of your garden tools, especially if they’re made of wood. Sand them lightly to remove any rough spots and then apply a wood preservative or linseed oil. This not only extends the life of the handles but also provides a better grip.
Storing your tools correctly is equally important. Keep them in a dry place and hang them if possible to avoid contact with wet ground. This helps in maintaining the sharpness and condition of the tools.
Maintenance Tips: Keeping Your Tools Sharp and Ready for Use
Routine maintenance is crucial to keep your garden tools sharp and functional. After each use, always clean your tools to remove dirt, sap, and rust. Store them in a dry place to prevent corrosion. Regularly inspect your tools for any signs of wear or damage. Sharpen the blades frequently with a suitable sharpening stone or file to maintain their edge.
Additionally, apply a thin layer of oil to metal parts to protect them from rust. Wooden handles should also be maintained; sand them if they become rough and apply linseed oil to keep the wood conditioned. By following these tips, your garden tools will remain in excellent condition, ensuring they are ready for use whenever you need them.
When working in your garden, having sharp pruners and shears can make a significant difference. These tools allow for clean cuts, which are essential for the health of your plants. To achieve this, follow these step-by-step instructions:
- Disassemble the Tools: Begin by taking apart your pruners or shears, if possible. This makes it easier to reach all cutting surfaces.
- Clean the Blades: Wipe each blade with a damp cloth to remove sap, dirt, and any other debris. Cleaning helps prevent damage during the sharpening process.
- Sharpen with a File: Use a coarse file to sharpen the beveled edge of each blade. Hold the file at a consistent angle, usually between 10 to 20 degrees, and use smooth, even strokes, moving in one direction.
- Check the Sharpness: Periodically check the sharpness by carefully touching the edge or by using a piece of paper to test the cut. Continue filing until you achieve a sharp edge.
- Hone the Edge: After using the coarse file, switch to a finer grit to hone the edge. This step smooths out any roughness and further sharpens the blade.
- Reassemble the Tools: Once you have achieved the desired sharpness, reassemble your pruners or shears. Ensure all parts are securely tightened.
Following these steps will help extend the life of your pruning tools and improve their performance in the garden. Regular sharpening is key to efficient and enjoyable gardening.